

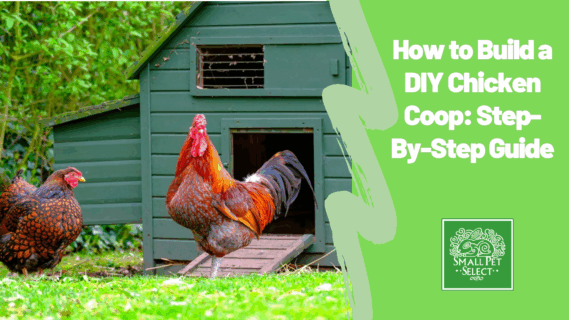
So you’ve finally decided to build a DIY Chicken coop for your feathered friends, perhaps to save on costs, create a custom design, or for other reasons best known to you.
As you’d likely expect, building a chicken coop requires some planning, building materials, tools, and construction skills. If you’re wondering if it’s a project you can tackle, this article will guide you through a step-by-step DIY process that simplifies the building while also ensuring safety and comfort for your birds.
Checklist of Tools and Materials You Need to Build a Decent Chicken Coop
Before construction begins, it’s crucial to identify and gather the necessary tools and materials. Doing this will save you time in the long run, as you wouldn’t need to pause work to fetch missing items constantly.
Here is a breakdown of the items you’d need, categorized into supplies, tools, and building materials.
Materials
Let’s begin with the primary building components that will make up your chicken coop. They include:
-
- Treated lumber for the coop’s frame
-
- Durable roofing materials like asphalt shingles or metal sheets
-
- Oriented strand board (OSB) for walls and flooring
-
- Galvanized wire mesh for ventilation and protection
-
- Secure hinges and latches for easy access and safety
-
- Cozy nesting boxes for egg-laying
-
- Roosting bars for perching
-
- Comfortable bedding like straw or pine shavings

Tools
With the materials in hand, you’d need the right tools to assemble, shape, and manipulate them. Here’s a list of tools you’ll need
-
- Drills
-
- Saw
-
- Pocket hole screws
-
- Measuring Tape
-
- Level
-
- Framing square
-
- Speed Square
-
- Pencil
-
- Permanent marker
-
- Scissors
-
- Air-powered stapler
-
- Wire cutters
-
- Saws (Jig saw, circular saw, hand saw, miter saw, table saw)
-
- Clamps
-
- Caulk gun
-
- Radial sandal
-
- Hammer
-
- Work gloves and safety glasses
Supplies
In addition to your materials and tools, you’d need specific consumables or auxiliary items to help you hold the primary materials together and add the finishing touches.
-
- Nails
-
- Screws
-
- Sand paper
-
- Wood glue
Planning the Perfect Chicken Coop: Design and Size Considerations for Your Birds
With your checklist in hand, the next step is to plan. Building materials come in different sizes, qualities, and types, each suited for specific needs. Planning helps you to:
-
- Avoid material waste and unnecessary expenses
-
- Prevent overcrowding, stress, and health issues from an undersized chicken coop
-
- Minimize security risks, such as predator entry points from an oversized or poorly designed chicken coop
Consider the Number of Birds and Their Breeds
With that in mind, how do you choose the right size and layout for your coop?
Different chicken breeds have specific space requirements. Identify your breed, and know the number of that breed you want in your flock, then you can construct your coop accordingly.
-
- Large breeds: each chicken needs a minimum space of 4 square feet inside the coop and 10 square feet outside
-
- Medium breeds: each chicken needs a minimum space of 3 square feet inside and 8 square feet outside
-
- Small breeds: each chicken needs a minimum of 2 square feet inside the coop and 5 square feet
Consider the Coop Equipment
When doing your planning, remember that space is needed not just for chickens, but also for essential equipment. Ensure to make provisions for the following:
-
- Roosting space: 10-12 inches per bird to prevent overcrowding and stress
-
- Nesting space: 1 cubic foot per hen, or individual nesting boxes for each bird
Adequate space for both chickens and equipment will promote a healthy and happy flock. You can get all the necessary equipment from a reliable habitat and accessories store.
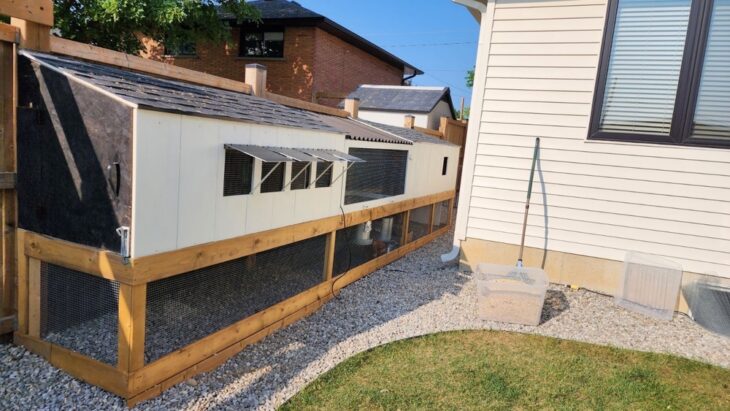
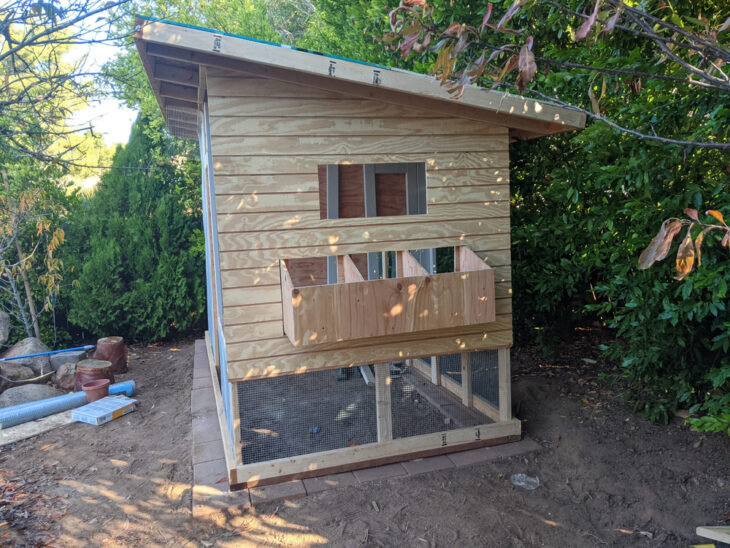
How to Build Your Chicken Coop
Now that you have all the necessary items, let’s get started on building your chicken coop. Here is a general overview of the construction process:
Select a Suitable Location for Your Chicken Coop
Find a level area that’s not too sunny or too shady. Ensure it is close to a water source and free from wind and predators.
Assemble the Coop Frame
Build a rectangular frame with lumber that is 2 inches thick and 4 inches wide. The base should be made from treated lumber to prevent rot. Attach a plywood floor to elevate and secure the interior.
Build the Walls and Add a Roof
Construct the coop’s wall using plywood and windows. To allow for proper air flow, cover the windows with hardware cloth. Next, install a sloping roof using asphalt for weatherproofing. Avoid using chicken wire to secure the openings, as it is not predator-proof. Use hardware cloth instead.
Install Nesting Boxes and Roosting Bars
Provide nesting boxes for the flocks, with each box measuring 12 inches wide and 12 inches deep. The boxes should be positioned below the roosting bars and target a ratio of one nesting box per 3-4 chickens.
Create a Secure Outdoor Enclosure
Build a safe and secure outdoor run. Ensure to connect the outdoor enclosure to the Chicken coop itself to allow the chickens to move freely between the coop and the run. The run should be high enough (3-4 feet is fine) to let you in and cover the top to prevent flying predators.
Provide Comfort and Other Essentials
Line the chicken coop with dry bedding like straw, pine shavings, or hemp to keep your chickens clean and dry. Also, position feeding and drinking troughs above the ground level to prevent contamination.
Preparing Your Chicken Coop For Cold and Hot Weather
If the construction timeline extends into winter or summer, you can use specialized equipment like:
-
- Hanging Feeders: Elevated feeders can help keep feed dry and clean, reducing the risk of mold and contamination associated with winter. Ensure you get your chicken feeds from the best and safest stores.
-
- Heater waterers: This helps keep water from freezing and encourages your chickens to drink more, which is essential for their health and well-being during winter.
-
- Foam Boards: This helps insulate the coop during winter, resulting in reduced heat loss and the prevention of cold air.
-
- Tarps or Trees: This helps provide extra shade.
Conclusion
A DIY chicken coop project is both rewarding and practical. It helps save costs, brings your vision to life, and most importantly, supports the well-being of your chickens.
With a bit of time, effort, and dedication, you can build a secure, attractive, and eco-friendly home for your chickens.
Disclaimer:
We are not veterinarians, and none of our information should be construed as veterinary advice.
Before adding any new product, please consult your exotic veterinarian. If your pet is acting unwell and you have concerns for their well being, please contact your vet immediately.