Did y’all know that there are actually ways to make safe glue for pets and dyes? I honestly didn't know this stuff, so I thought it was important to share. Not to mention fun to do. They're safe to be eaten… which is an absolute must because we know how our little ones like to munch.
The sticky stuff
Let's talk safe glue for pets first. You can either DIY or purchase from the store.
DIY
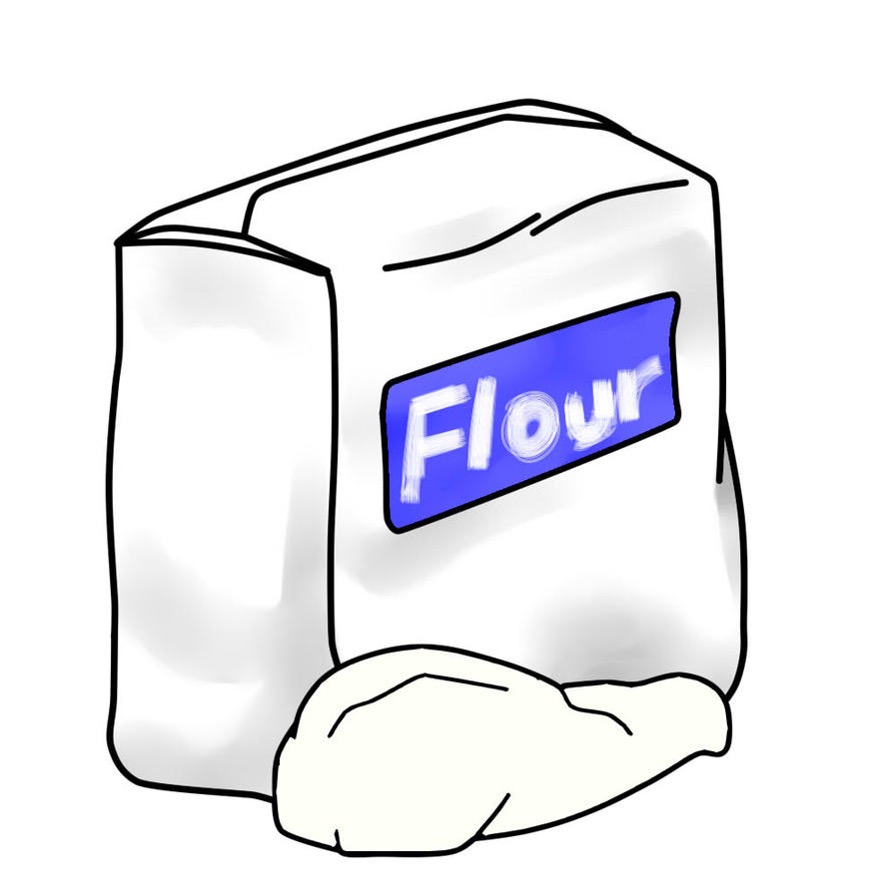
You literally need two ingredients. Flour and water. For mild consistency glue (paper and card projects), it’s one part water with two parts flour. Mix until it's smooth and you're ready to use. If you're looking for a thicker consistency for more robust projects, use more flour than water. Mix until you get a thick paste, then heat it up in a pan and use it while it's still hot.
Store-bought
While flour glue is super helpful, it does take quite a while to dry, and it's probably not the best option for really complicated projects. For those, a hot glue gun is good (as long as you're using a minimal amount), but make absolutely sure that the glue stick says "non-toxic." This is a must. An. Absolute. Must. However, you need to watch for signs of chewing in the glue area and remove if necessary.
If you don’t have time to make flour glue, Expertpaws.com says regular Elmer’s All Multipurpose White Glue and Elmer’s Carpenters Wood Glue are non-toxic and safe.
Whichever glue you use, ensure they’re stored in a safe place away from your pets. Even though they’re non-toxic and too much of anything is bad news…even safe glue for pets.
Add some color
Pet safe dyes are also super useful and, well, super fun. Decide what color you’re aiming for, and choose a safe fruit or vegetable (that’s safe for your species of pet). Do you want red? Choose a strawberry. Orange is your aim? How about a carrot? Green? Lettuce works.
Chop up your fruit/veggie into small pieces to make color extraction easier. Blenders are best to use with hard veggies. Pour some water into the blender and add your fruit/veggie of choice. Then, give it a good whirl. Then, strain the pulp from the juice. We're aiming for just the juice. For soft fruits/veggies, there's an alternative way to extract the color. Pour the desired amount of water into a pan and add fruit. Bring to a boil and stir well… if you stop, the water will boil away, and you're gonna lose your color, so don't do that! Water will begin to change color after about 5-10 minutes. Then, just repeat the straining step to separate the fruit from water. And voila! You’ve got dyes in the colors you want.
Don’t forget to save the fruit and use it as a fun little treat for your pet. Remember, too much sugar is bad for anyone, so just give your baby a tiny bit.
Pretty cool, right guys?
Check out the below video for a little more info. Shout out to Erin’s Animals for these fantastic, safe, and fun ideas. If you’ve made crafts for your pets, we’d love to hear about them and see the results of your work! Comment on our socials or email hoomans@smallpetselect.com.
DISCLAIMER: The links and information are being provided as a convenience and for informational purposes only; they do not constitute an endorsement or an approval by Small Pet Select of any of the products, services or opinions of the corporation or organization or individual.
Want to learn more about caring for your pets? Check these out!
Is my rabbit fit? Is my rabbit fat? How to check.
